Continuing from
part 1...
1) Log into OnCommand Unified Manager in a web browser by
using https://IP_of_OCUM or https://FQDN_of_OCUM:
Image 1: Logging
into OCUM

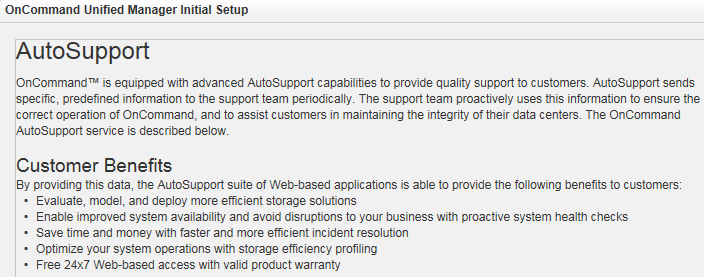
2) Q: Do you want to enable AutoSupport capabilities?
{Yes/No}
Note: For this
walkthrough ‘no’ has been selected.
Image 2: OCUM
Initial Setup - AutoSupport
3) Enter NTP Server, Maintenance User Email, and SMTP
Server Hostname information:
Image 3: OCUM
Initial Setup - NTP Server/ Maintenance User Email/ SMTP Server Hostname

Note: These boxes
cannot be left blank (SMTP Options is optional) and DNS names must resolve (can
use an IP instead to get around this - and don’t need a valid email address.)
4) That’s it - we’re ready to get started!
Image 4: Start
using OCUM by adding a cluster

Comments
Post a Comment